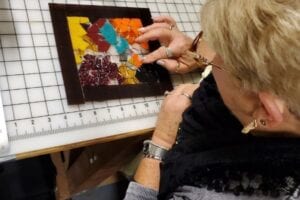
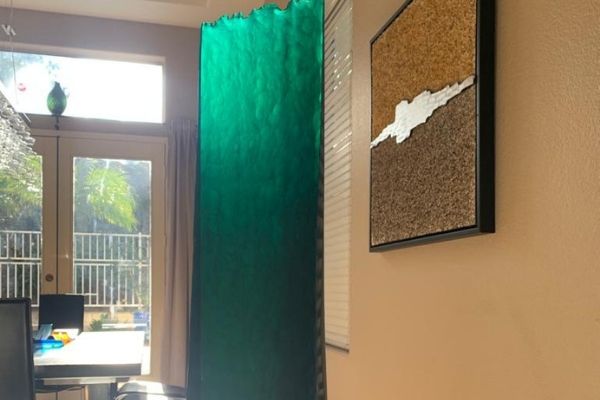
Fused glass art has created a buzz in the entire art world. For many years, fused glass, aka kiln-formed glass, has been considered in arts and crafts because it offers various possibilities for creating functional pieces and artwork.
From plates, jewelry, sun catchers, clock faces, to sculpture, you can use your artistic ability to fabricate many things with this fascinating glass art form.
This guide covers steps and supplies to get started with the fused glass art journey.

What is Glass Fusing?
The glass fusing process involves melting two compatible pieces of glass in an electric kiln and fusing them into a single piece. Generally, the heating temperature ranges from 593 °C
(1, 000°F) to 816 °C (1, 500°F).
By fusing glass, people can craft dynamic and colorful works of completely unique art. The best part is that, unlike other glass forms, you are free to take as much time as you need to bring your design to life.
What Supplies Do You Need for Fused Glass?
Since various bells and whistles are available in the market, it is easy to become overwhelmed by the choices. Here is a list to consider when getting supplies for your next glass fusing DIY project:
Coefficient of Expansion (COE)
Many people make the mistake of mixing different types of glass, which leads to a complete DIY project failure. So, it would help if you choose fusible glass with the Coefficient of Expansion (COE) between 90 and 96. While art education catalogs usually sell COE 90, companies specializing in glasses sell both COE 90 and 96.
Budget or Convenience?
People who prioritize convenience over budget can purchase pebbles, stringers, pre-cut chips & clear bases. On the other hand, buying glass packs with glass sheets as big as 12” x12” of 3mm thick glass is best for people who prefer cutting up their own glass. Besides, running pillars, a glass cutter, and a pair of nippers are also needed.
Kiln Wash and Kiln Paper
Kiln wash is a powdered mix that you should buy to wash glass stuck to your kiln shelves. If you want to prevent the glass from sticking to kiln shelves, you should consider getting kilnKiln paper.
Elmer’s Glue and Toothpicks
Many people choose small dabs of Elmer’s glue because it helps in attaching glass pieces together. Since the glue burns off during firing, there is no need to worry about it. However, you can use toothpicks to ensure you do not overdo it.
Metallic Sharpies
Unlike regular Sharpie, Metallic Sharpie doesn’t burn off in the kiln during firing. So if you are in a group, ensure that all of you write some code on the bottom of metallic Sharpie before commencing the DIY project.
How to Fuse Glass?
Once you have the right material and studio safety in place, you can take the plunge and explore the possibilities of creating various things with fused glass.
If your glass has visible fingerprints or smudges, make sure you clear it off. The process of fusing glass begins with applying a small amount of Elmer’s glue to make sure your design remains intact when assembling it into the kiln.
Now, assemble pieces in the kiln, but avoid putting pieces too close to the edge of the shelf. Next, fire the kiln to the above-mentioned temperature and appropriate firing schedule. Once the glass is cool, you can take your project out of the kiln.
The Bottom Line
There you have it! This was the ultimate guide to creating dynamic glass artwork with fused glass technique. So, hone their creative side with DIY art projects and win admiration for their unique sense of style. You can use this guide to begin your fused art journey.
If you have any other queries, leave your comments.

